Sunday, June 30, 2013

Tutorial: Patches

So, my recently completed Cheery Squares quilt had a slight flaw. Upon washing the quilt, I noticed that a couple of the squares weren't exactly sewn with a proper quarter inch seam allowance- more like a three threads' width allowance. And after washing, those squares started to fray.


What a pain, what a bummer...

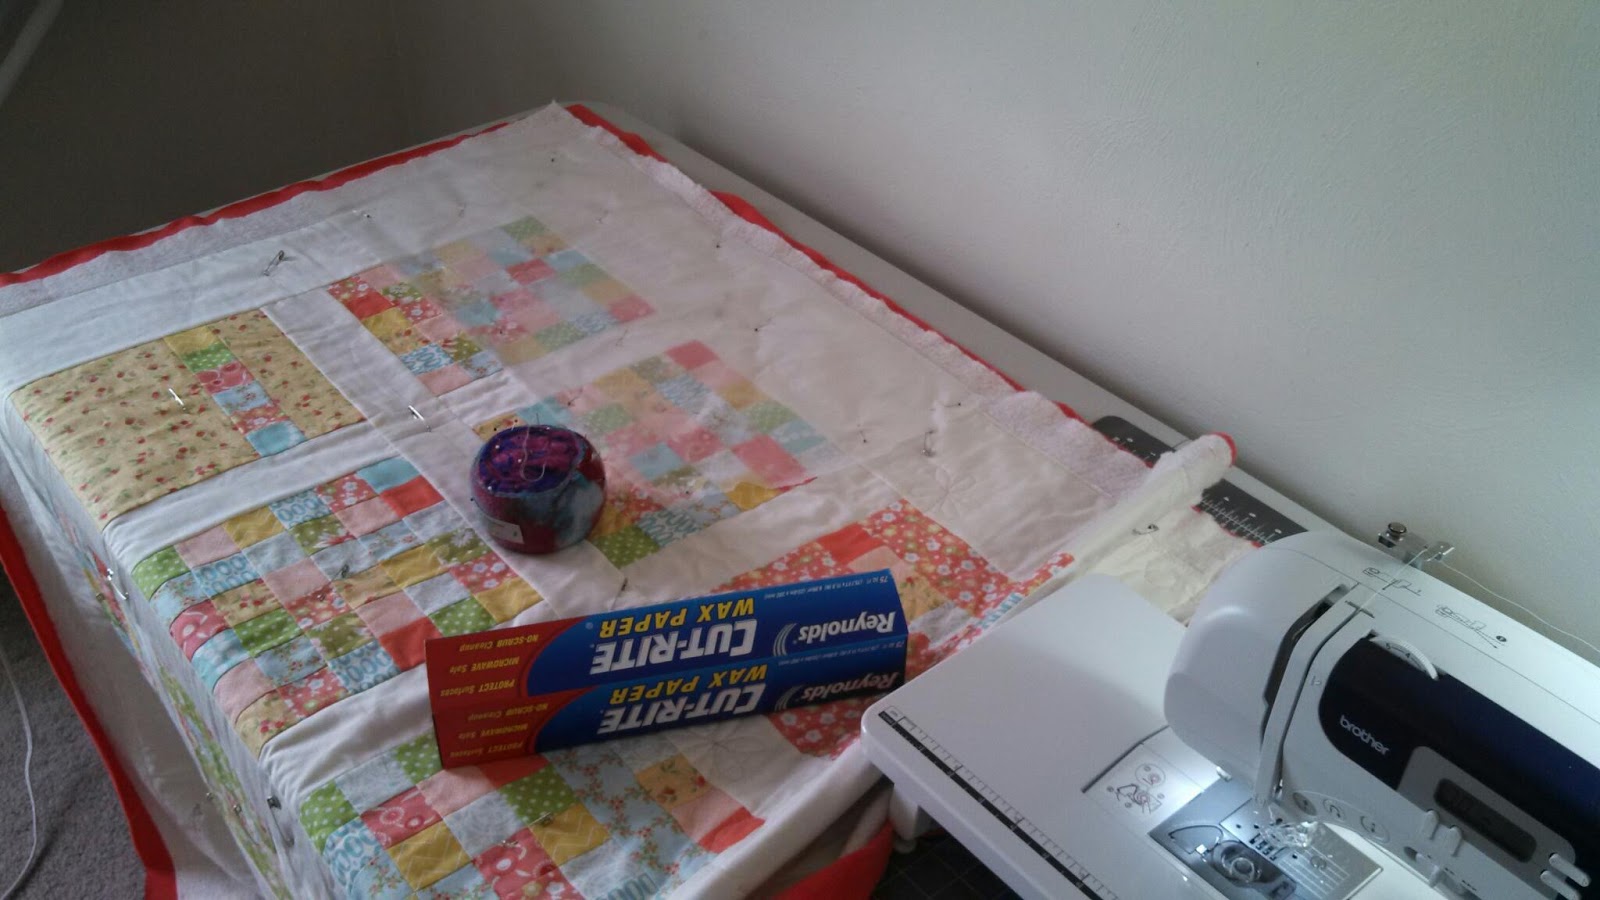
This is the first quilt I'm selling too, so there was no way I was going to give it over with mistakes in it. So I took to the internet, and looked up ways to patch quilts. Georgia Leigh has a good tutorial, but I modified it a little bit for my quilt. 

To start off, I measured the two squares in question and made a paper template of the exact size.


Next, you'll want to cut a square of fabric at least a quarter inch larger than your template on all four sides. I didn't have any extra fabric scraps from the quilt, but I did have a lot of small squares left over. It made for small seam allowances, but it worked. 


Press the sides around the template with your handy dandy iron, then remove the paper template.


Perfect little square! I pressed it a lot with the iron because of the very small seam allowances. And to be extra safe, I cut a piece of fusible and ironed it on to keep everything together.


Huzzah! Tiny patches!

I laid the patches out on the quilt where they were going to go- I was going to sew them straight on top of the messed up squares. But I didn't like how it looked- you could definitely tell that it was patched, it was layered and 3D and terrible. So I ended up completely removing the frayed squares and hand sewing the patches on.

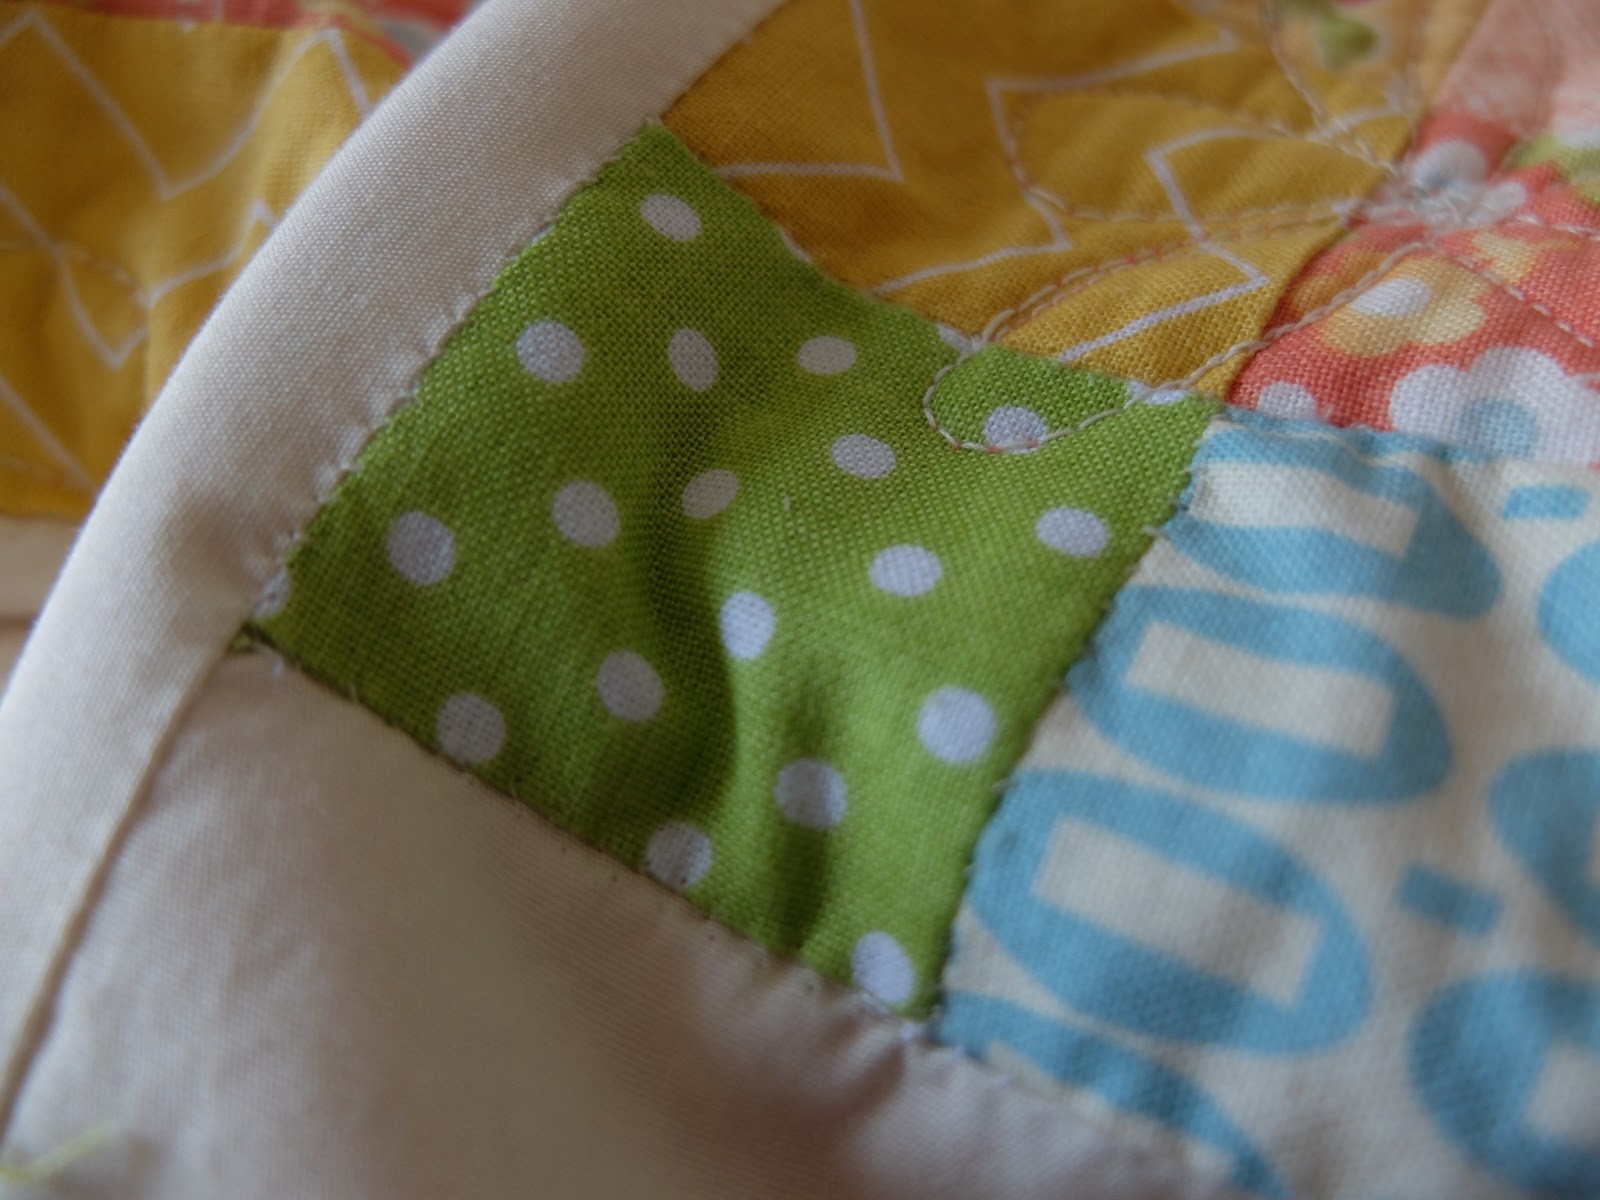
Looks like it was meant to be there!

Overall, I think it was a very successful endeavor into repairing a quilt. If you have any suggestions to improve the process, leave me a comment! Thanks!


Friday, June 28, 2013

A Wonderful Finish

Today, I finished the final stitches on the Cheery Squares quilt! I also just got a new camera in the mail today (Fujifilm x20!!) and took both new things to the park for a photoshoot.


I'm so excited to finish this up and to give it to its new owner. I was racing the clock on this one, since this quilt's recipient is going to be born in like 3 weeks. I hope that it is well loved :)


The quilting turned out beautiful too- the daisies add to the quilt nicely :)


And now I can move on to another project!


Tuesday, June 25, 2013

Finally free motion quilting

I finally took a trip to Ball Mart and bought the cahones I needed to start quilting the cheery squares quilt. I had a couple shaky starts, so I developed a system to quilt beautifully.
1. Find wax paper
2. Pin a piece of wax paper to the quilt
3. Draw pattern onto wax paper
4. Quilt on top of drawing
5. Peel off paper
6. ???
7. Profit!
I feel so sneaky and so happy because it's WORKING!! I'm free motion quilting!!

Friday, June 21, 2013

Finished it Up Friday

What I love about the quilting community is the creativity that everyone has. I love scrolling through photos on Fridays and seeing all of the beautiful things that everyone has made during the week. It gives me inspiration and makes me proud of everyone, because we all know that the craft we chose is not the easiest.

I am very proud to announce that I have a finish this Friday. It's not a quilty finish, but it is the end product of months of hard work, late nights, and physical labor. And now that it is finished, I can finally get back to quilting!


This year in school, I was part of the design/buildLAB. We worked together as a group of 17 to design and build a pedestrian bridge in Clifton Forge, VA. We conducted interviews with townspeople to assess the needs, we spent very late nights making the construction documents, and we fabricated every piece of this bridge ourselves- cutting and welding steel, electrical wiring, and planing and routing the wood. There is a little piece of all 17 of us in this bridge, in the design, and in the hard work that went into it.

My big contribution was the stairs. Another boy and I worked together to design them :)

It's a little early right now, so my brain isn't working very well, but if you have any questions about my project, feel free to ask!

The supports for the bridge, and the cladding under the bridge

Our happy family!

Now I can FINALLY catch up on my Sister's Ten BOM blocks! I'm way behind, I only got one of May's done and I haven't touched June... sad face.